|
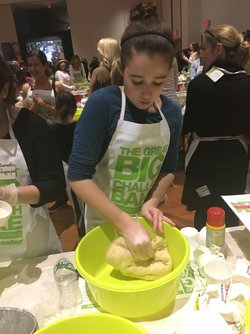
What better way to spend your Thursday night than baking challah all night long? Nothing! I got a chance to bake challah with my grandma at an event called The Great Challah Bake at her temple. My aunt Samantha and my grandma’s best friend also came too. When we got to the temple we went into a tent where we got bags that had challah recipes on them, a stress toy, and an apron. Then we walked into the main room where we were going to actually prepare our challah. We got a huge plastic bowl, measuring cups, a huge spoon, flour, sugar, and yeast packets. There were also ingredients on the table that everyone shared. Before we started to bake we watched a video that teaches us about the Shabbat Project which helps people around the world to celebrate Shabbat. If you do not know what Shabbat is, it is a holiday that we celebrate Friday evening to Saturday evening it celebrates the day God rested after he made all of the living things. The organization helps people everywhere celebrate Shabbat. After the video we started to make the challah! We got a placemat where there was the recipe and added in the ingredients. We mixed it with the big spoon and then got to knead it with our hands which was my favorite part. The dough was a little dry so we added some water and it felt nice between my fingers. After we kneaded it, we had to let the dough rise a little from the warm air, so while we let it rise we went and did the horah. The horah is a traditional jewish dance that you usually dance at a bar/bat mitzvah or at a jewish wedding, but today we did it while our challah was rising. It was very fun and I almost forgot we were baking challah. Once we finished dancing we braided the challah it was difficult for me, but I managed to do a three braid, and a four braid I was super proud of myself. After we finished braiding and helping other people braid we cleaned up and managed to get a few extra bowls. I had a super fun time and really want to do it next year.
0 Comments
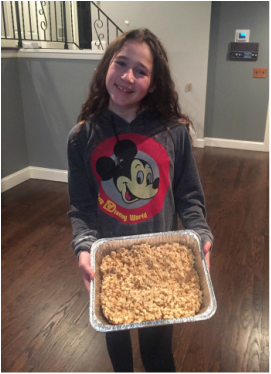
Halloween is a super fun holiday especially when you make treats. But when you cannot have treats because of allergies, that is not fun. My brother has a tree nut allergy and cannot have the treats his class brings in because it risks him having an allergic reaction. So I decided to make him treats that he can have and share with his class! I was going to make him mummy Rice Krispie treats and if you have an allergy to peanuts or tree nuts this is a good recipe for you.
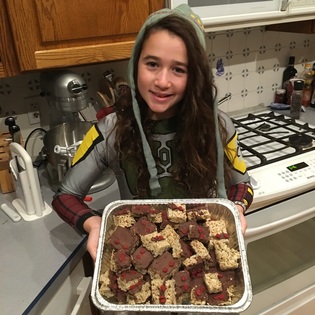
I started off by melting three tablespoons of butter on low heat. I stirred them until they melted completely and then added a bag of mini marshmallows along with some rainbow sprinkles to add some color. You want to keep stirring until it is completely melted before adding six cups of Rice Krispies. Then, you want to keep folding the mixture until the marshmallows look like they are stretching the Rice Krispies. After it looks like cobwebs, turn off the stove. Then get a pan and spray it with cooking spray. Slowly start pouring the mixture into the pan. You want them to cool so put them in the fridge for fifteen minutes. When you take them out of the fridge, you want to put parchment paper over a cutting board. Then, you want to flip the pan onto the board and tap it a few times. Lift the pan, and it should have come out nice and clean. You next want to cut the treats into even squares. Heat up a bowl of chocolate until it is silky smooth. After you heat up the chocolate, you want to take a knife and spread the chocolate on one side of the Rice Krispie treats. To add the finishing touch, cut a mini twizzler in half and stick the two pieces on the treat to make creepy eyes! Keep repeating until you have finished all of them. I hope you will use this recipe and enjoy it just as my family did. Happy Halloween!!!!! If you have ever eaten Kellogg's Rice Krispies I’m sure you have seen the recipe on the back of the box for Rice Krispie Treats. Well I have when I eat them I always see that recipe. Each time I saw it I got more and more interested in making them. So, finally I decided I’d make them. I got lucky and I found a full box of Rice Krispies, mini marshmallows, and butter. I heated the stove to medium, and in a skillet I melted three tablespoons of butter. When it was fully melted (which takes a little while), I added in the full bag of mini marshmallows, and melted them until they were fully melted, so that it sort of looked like fluff. Then, I added in six cups of Rice Krispies (which is almost the whole bag), and I mixed it all together until it looked like a Rice Krispie treat. If you have ever seen a Rice Krispie treat you will know that the marshmallow sort of clings to the Rice Krispies. That is how it should look. After you do that you turn the stove off and pour it into a tinfoil pan, and press it down to look like a rectangle. Then, you let them cool for about fifteen minutes, and then cut them. Then enjoy!! The next time you have a box of Rice Krispies lying around maybe you can make these easy yummy treats just like I did. Keep checking my blog because, I have been really getting into cooking and baking more so there will be a lot of blog posts coming up on Jordan’s Lunch Box.
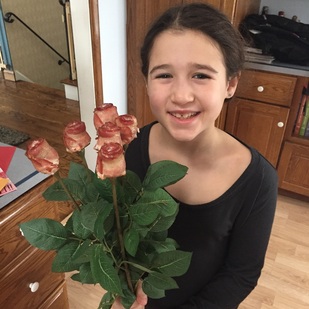
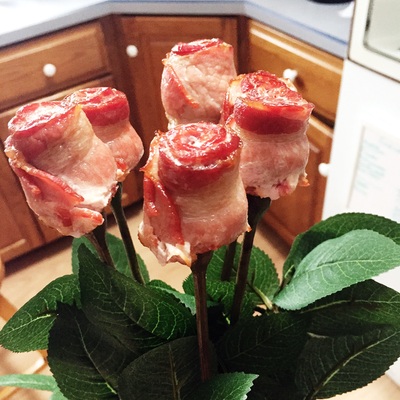
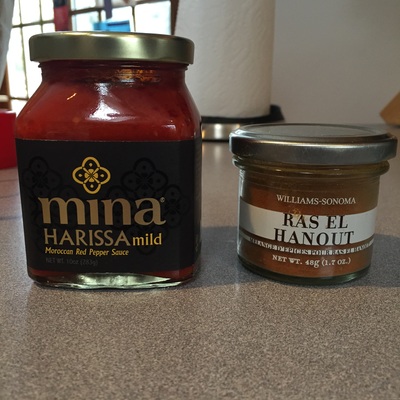
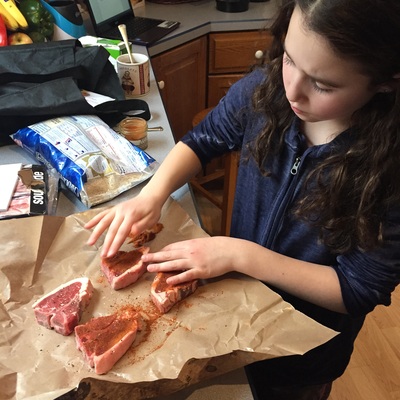
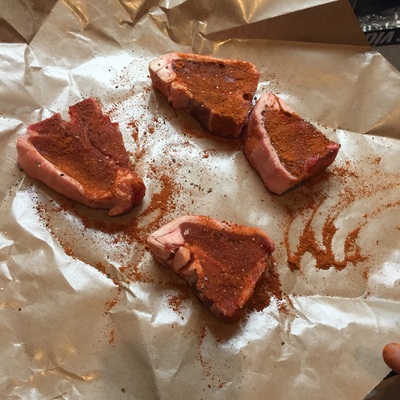
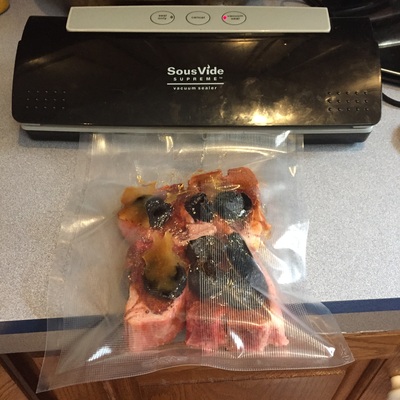
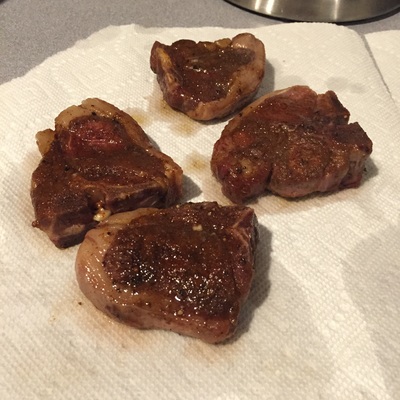
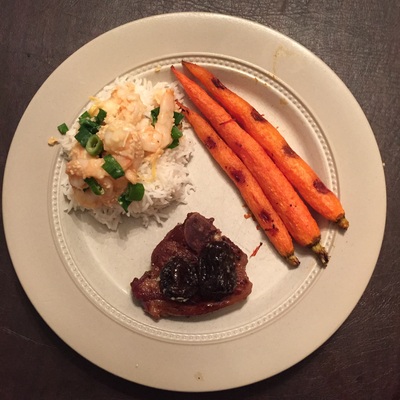
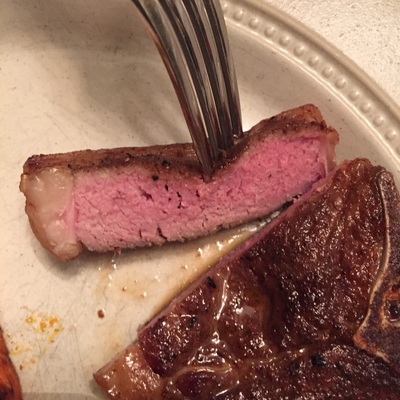
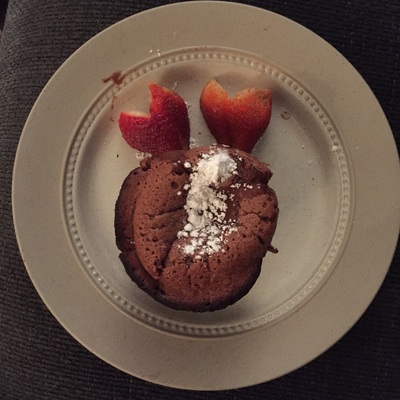
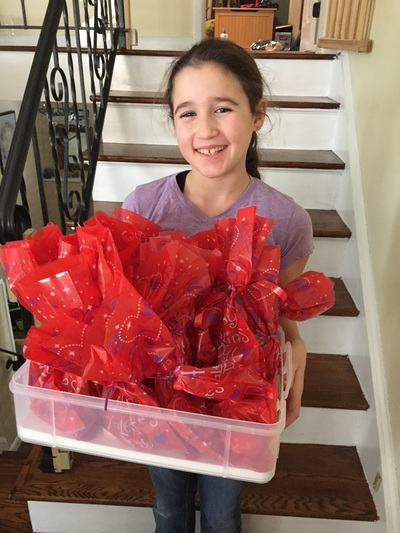
This Valentine’s Day was really special. The morning of Valentine's Day, my dad didn’t get me an ordinary present. He got me flowers. That might seem like a really ordinary present for Valentine’s Day, but they were roses. But not just regular roses. They were bacon roses which is the best present a bacon lover can have! Then my dad and I decided to make a special Valentine’s Day dinner for my mom. We looked up some good recipes for a surf and turf. We decided on a Moroccan styled theme. We decided to make lamb and shrimp. First we seasoned the lamb with salt and Ras el hanout. Ras el hanout is a Moroccan spice blend which reminded me of Indian and French spices. For example when you smell the Ras el hanout you could smell the paprika because paprika was in it. It also had cumin, cinnamon, ginger, coriander, turmeric, black pepper, cardamom, allspice, mace, white pepper, rosebuds, nutmeg, cloves, saffron, and bay leaves. After we rubbed the spices on the meat, we put it in a plastic bag and added prunes and honey. Then we put the bag in a vacuum sealer to seal the bag. Once the bag was sealed, we put it in our Sous Vide Supreme machine. The Sous Vide machine will cook it for two hours the way we want it to be cooked without overcooking it. It has water in it and the water is heated to the exact temperature we want the meat to be. Once the machine had the right temperature, we put the bag in. Many restaurants cook using machines like this so that when you cut into the meat it will be the perfect color you want. Then we peeled carrots because we were going to make carrots along with the shrimp and lamb. After we peeled the carrots, we made a paste to put on the carrots. The paste was made out of butter, maple syrup, and harissa sauce. Harissa sauce is a Moroccan pepper sauce and it will give the carrots a kick while the maple syrup gives it sweetness. After we got the paste on the carrots and got them in the oven we had to do the shrimp. So, we got the shrimp and cleaned them under water. Then we put it in a bowl with scallions, lemon zest, ginger, garlic, and sesame oil. Then, I mixed it all together with my hands and then I smelled the bowl and said, “Dad, come over here and smell the bowl, it smells amazing!” My dad came over and smelled the bowl and called out for my mom and they thought it smelled amazing too. After that, we put it in a plastic bag and did the same thing we did to the lamb. Then after we did the vacuum sealer, we put the shrimp in the Sous Vide machine and took the lamb out. For dessert, my mom made chocolate lava cakes. I helped by melting the chocolate. After we finished the shrimp and did the finishing touches we were ready to dig in. When we sat down I tasted the lamb it was sweet and really tender. Then, I tasted the shrimp and it tasted the way it smelled and the carrots were soft and sweet. Then, after we ate and cleared the table, my mom brought out dessert. When I sliced through my chocolate lava cake, a puddle of chocolate came through. When I tasted the cake it was dense and rich. I hope that we all remember this lovely dinner. I hope that everyone else had a cool Valentine’s Day like me!
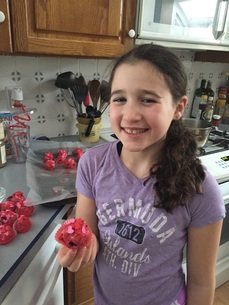
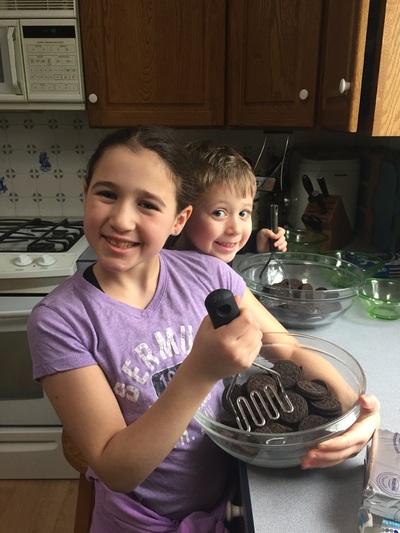
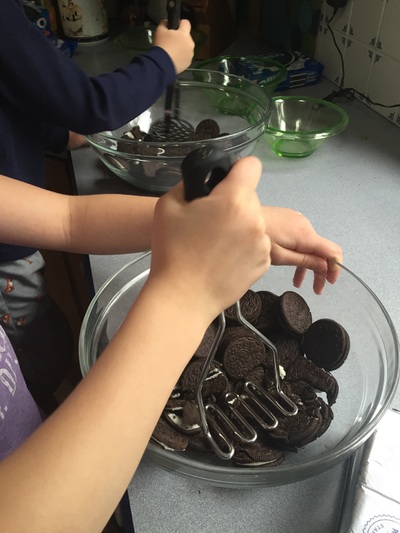
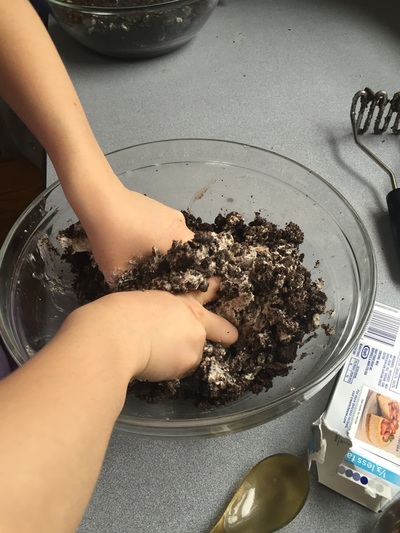
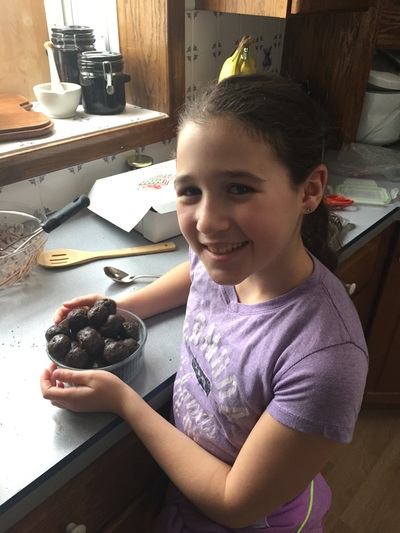
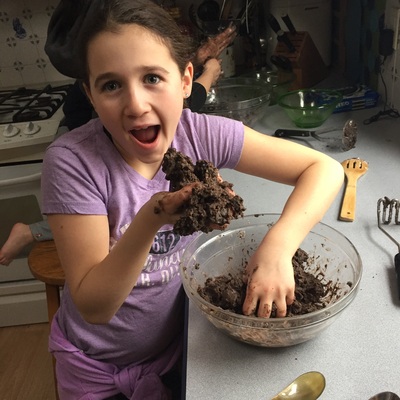
Here are links to the recipes we made: Moroccan Lamb Chops with Prunes and Honey Baby Carrots Glazed with Harissa and Maple Syrup Shrimp with Lemon and Ginger It’s getting close to Valentine’s Day and, in my house, Valentine’s Day treats are a big deal. So, we decided to make truffles this year. There are only a few ingredients: Oreos, cream cheese, and melting chocolate. You could also add sprinkles if you want to. First, we crushed Oreos and we had to get them really crushed, so it took a couple minutes. Then, we added cream cheese and mixed it really well with our hands until it was a dark color. We rolled them into balls and put them into a bowl. While my brother and I were making Oreo cream cheese balls, my mom melted the chocolate in the microwave. My brother was done before me with making his chocolate balls. The melting chocolate had been sitting out for a few minutes. That stuff dries quickly. So, when my brother dipped the truffle in the chocolate it was stiff, but it still worked out fine. When it was my turn to dip my truffles in the chocolate, it was the exact opposite of what happened to my brother. My truffles had been sitting out too long, but not my chocolate. So, we had to put my truffles in the fridge and make another batch of melting chocolate. Instead of putting the chocolate in the microwave, we put it in the double boiler on the stove. A double boiler is used so that you don’t have to put the chocolate in water. You put it in a pot above water so it melts. We mixed the chocolate in the double boiler until it got smooth. Then, we took the truffles out of the refrigerator and applied chocolate onto them. After that, we added sprinkles and put them in these cute little cupcake wrappers and we were done! Try this recipe for Valentine’s Day for a little extra love. We learned this recipe from our friend Amy Justiniano. Please keep up with my next few blog posts about my exciting adventures in Vietnam.
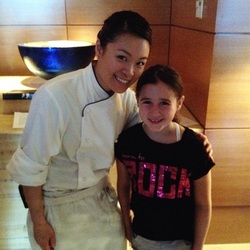 With Chef Jackie Velez With Chef Jackie Velez Earlier this month it was Westchester Wine & Food Weekend and there was an event they created for kids to cook with chefs in the kitchen at the Ritz-Carlton hotel in White Plains. It was their first time doing this event. For my birthday, my dad signed me up for it. When we got there, I have to admit, I was a little nervous. Then we went down to the kitchens (there were two) and they split us up into two groups. When we walked into the kitchen, there were aprons, chef hats, and a bottle of water for each of us. They said one group was going to make the gnocchi and the other group was going to make the tomato sauce. I was in the tomato sauce group. At first, I wasn't that thrilled to be in the tomato sauce group. Along the way, it got better. I actually know how to make gnocchi so I'm going to tell you about that first. So to make gnocchi, first you get three pounds of russet potatoes. Then you have to boil them and then mash them. They (the chefs) did that beforehand for us. We put it in a big bowl with two cups of all-purpose flour and one pinch of salt. In another bowl, we put an extra large egg and canola oil. Then we rolled it into a big worm shape and cut it into little square pieces. After that, we put it into boiling water. When they floated to the top, we took them out and put them into an ice bath. Last, we put them on a platter with plastic wrap over it and put some canola oil on the gnocchi. My group though made the tomato sauce. First we peeled Roma tomatoes and took the seeds out. Then we put the tomatoes into a pan with some olive oil. Then we added a cup of shallots (which are like mini-onions) and a quarter cup of garlic. We then let it sit for five minutes. Then we put in tomato paste and stirred it. We then blended it. I didn't tell you the whole recipe though so don't try it at home. When I tried it, it was the most delicious pasta and sauce I've ever tasted. Other people should send their kids here next year because then they will have their kids be able to help them cook. The best part was eating the gnocchi. It was really soft and light. I asked the chefs questions (like how to know when to take the gnocchi out) and had fun talking to the other students too! A lot of people celebrate Easter, but my family celebrates Passover. Every year we have a Seder with a lot of food. This year, we had a Seder with my dad's side of the family. I know this may sound crazy but my great-grandma is still alive! For Passover, she came over to teach me how to make latkes (potato pancakes). We are changing it up and doing our first video instead of a regular blog post! Hope you like it!
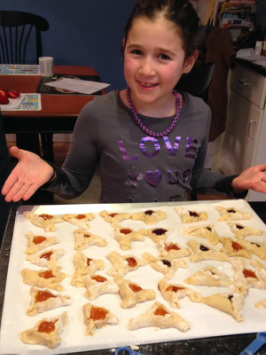
You might not know this about me, but I want to be a pastry chef when I grow up. That’s why I try to bake a lot. I am Jewish, so that means I celebrate Jewish holidays. The holiday that’s coming up is Purim. We bake because there is a bad guy in the Purim story called Hamen and we eat hamantaschens because Hamen’s hat was shaped like a triangle. We eat them to get the bad thoughts away.
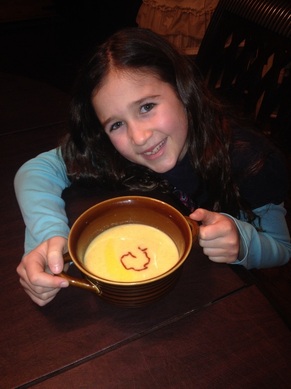
So right before Purim, my grandmother and I made hamantaschens. First, my grandma rolled out her handmade dough. Second, we cut the dough into circles. Then we put jelly in the middle of the circle. We picked a lot of different jelly flavors. First, we used Knotts Berry Farm Boysenberry preserves. Next, we added apricot preserves. Then we added prune jelly and lastly we picked chocolate chips. The final step, we baked them overnight. Last of all, we ate them. MMMM! They were delicious. Even if you are not Jewish, you can try this and celebrate Purim, which is on March 15th and 16th. 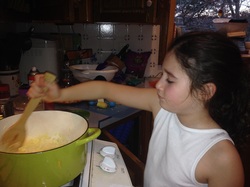 Last weekend, my Mom and I decided to make a carrot soup. I had been begging my mom for weeks to make this soup. First, I chopped nine carrots. Then I chopped two celery sticks. After that, we cut one onion each. Next, we seeded tomatoes and I cut them. We also added lemon, chicken stock, garlic, and melted butter. Then we put all of the stuff in a big pot and we let it cook. Next we took our immersion blender and mixed it all up. Last, we put in Sriracha, salt, and pepper. You can make this amazing soup at home. Try it! We were snowed in on this past Saturday so we decided to cook. Yes, my favorite! First, my mom made cauliflower soup. It had a lot of texture and thickness to it. When you add sriracha it gives it so much more flavor and spiciness. She mixed the soup with an immersion blender which gives the soup its creaminess and textured flavor. Then my dad made a paella. It's a Spanish rice dish with chorizo. rice, peas, and chicken. At the supermarket, me and my dad compared the rice. Even though you think rice is all the same, it's completely different. When I tried the paella I thought the rice was too creamy but it was really delicious. You should try it out and make cauliflower soup and paella. They are good on a snowy day.
|
AuthorMy name is Jordan. I am a 12th grader and I love food! Archives
October 2022
Categories
All
|

 RSS Feed
